How to Limewash Your Brick Fireplace
- Courtney Wood
- Sep 21, 2021
- 4 min read

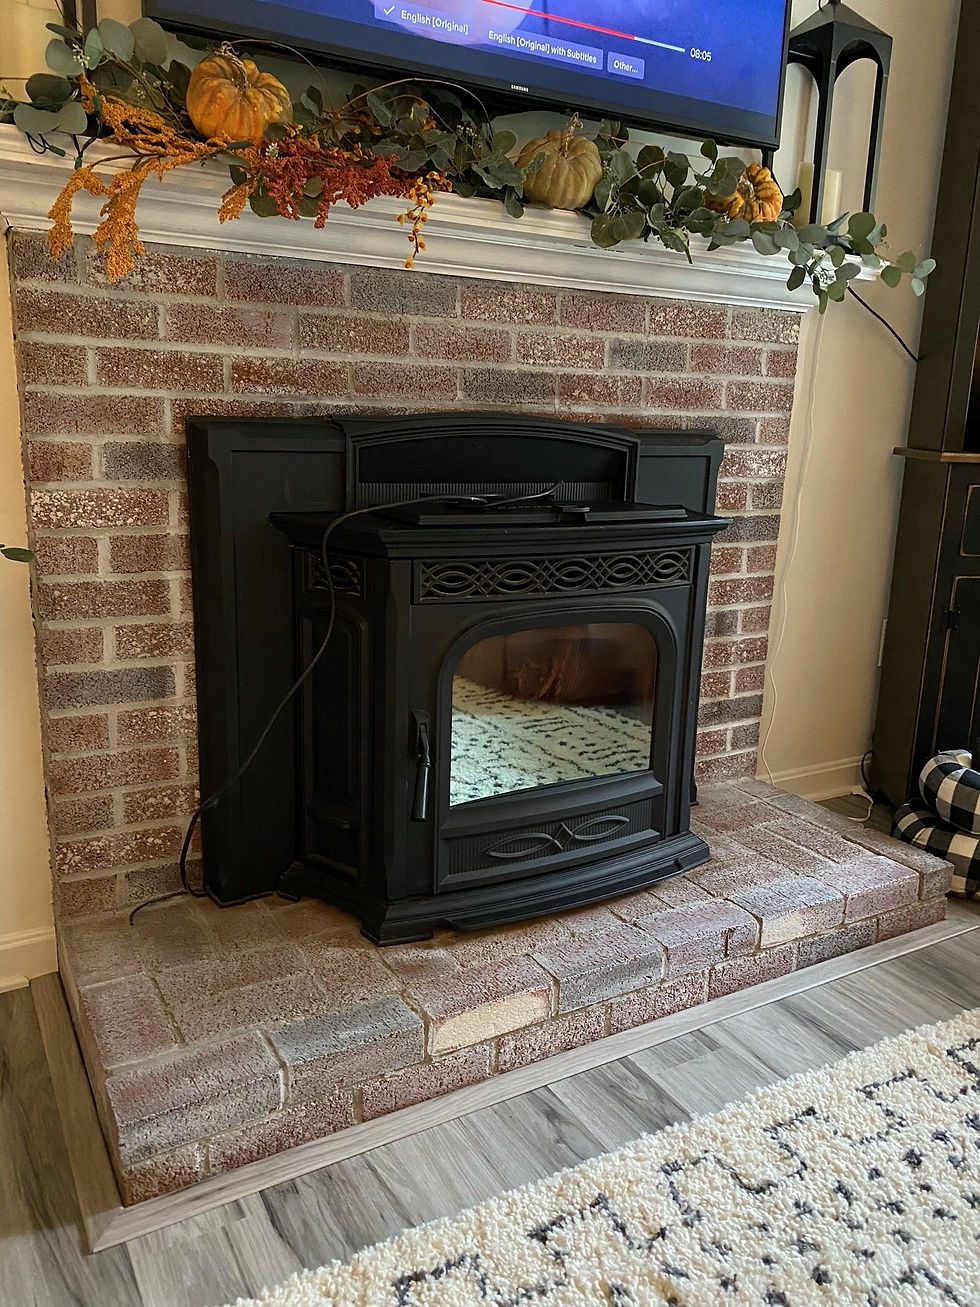
Are you sick of your red/grey brick fireplace? When we moved into our house two years ago it really never bothered me but a while back I did do a light white wash to our fireplace shown in the picture to the right.
I just wanted to lighten it up a bit while leaving brick showing through. But... as time has gone on I have sat here and debated on changing the look of the fireplace completely by either limewashing it or doing a german smear.
I ended up deciding to limewash it... why? Well the process seemed a little easier, the limewash was in stock and I wanted to get rid of the red/grey brick look all together. So what is Limewash? Limewash is something that has been around for a long time and goes on similar to paint. It's mixed with some water and made out of crushed limestone. When I opened the quart I purchased, it did not look how I thought it would look. It is a thicker consistency and almost looks like a cement but it comes in a concentrate. The Limewash bonds with the brick and provides a beautiful way to lighten up a space.
I decided to use Romabio Limewash in Avario White and ordered a quart from Home Depot. Like I mentioned above, when you open it, do not expect a liquid consistency. It it going to be a thicker concentrate and Romabio states on the container to add 50%-70% water. I purchased a separate bucket and split the limewash in half because of the size of our fireplace. I then added about 50% water but kept my eye on it because I wanted a thicker more textured consistency. Depending on the look you want on your fireplace is how you would decide how much water you want to add.
WHAT MATERIALS WILL YOU NEED?
A Masonry Brush - I purchased a larger one so it would cover the space quicker but for edges and smaller sections you may want to also purchase a smaller brush.
Romabio Limewash in Avario White (or whatever color you would like - there are other options.)
A spray bottle to fill with water
Drop cloths, craft paper, towels or whatever you want to use to cover the area around your fireplace
Plastic bucket for mixing the limewash
Paint stir stick
Cloth to wipe the brick after 24 hours
Depending on the size of your fireplace you may need a ladder to reach the top but mine was short and small so that was not something I needed. I also almost always have a wet rag on hand to grab if I do spill or need to wipe off excess paint from anything.
STEPS TO LIMEWASHING YOUR FIREPLACE:
Prior to starting make sure the brick is cleaned. I wiped mine down and vacuumed it.
After cleaning, now would be the time to cover your floor and surrounding area so you do not get any limewash on it. I actually used brown paper bags from home goods, marshalls, etc and taped them down because I did not have the chance to purchase any craft paper. Saved me money at least and worked perfect :)
Next, wipe down the fireplace with a wet, damp rag or use a spray bottle and spray the brick where you plan to paint the limewash so that it is damp. I did not have a spray bottle so I used a wet rag and pressed the rag into the brick to make it damp. This process worked just as well.
Grab your bucket, dump the limewash in and mix it with 50%-70% water. I only used half a quart of the limewash because of the size of our fireplace. I poured that into the bucket and then slowly added water and mixed it together. I went based off of how thick I wanted it to look because I wanted to provide a thicker painted texture. It all depends on the look you want. The more water you add, the less thick the white will look on the fireplace, so it is totally your call based off the results you want to see!
NOW YOU MAY .... Begin painting! I started from the top of my fireplace and worked my way down in case there were drips or anything but You can start wherever though. (whatever your preference is.)
Once you are done painting your fireplace, wait 24 hours to decide if you want to wipe any limewash off or change the look of it because the color changes as it dries. The brick will start to come through a bit while you let it dry so then you can decide if you want to add more limewash after 24 hours or want to wipe some off in specific sections or just leave as is.
After 24 hours, if you decide you want to wipe off some sections on the fireplace, you can either use a spray bottle and spray the section you want to remove and then wipe it away with a wet rag or you can just use a wet rag. I decided to take some off in certain spots and used a wet, damp, rag.
This limewash allows you 48 hours to decide if you like it or want to make any changes. In 48 hours the limewash will cure.

Once the limewash is cured after 48 hours you will see your finished result :). It ends up having a chalky, almost matte flat finish but I LOVE the way it looks!
Super easy process! It may seem like a lot but I promise it's not! I went back and forth with doing this in my head because I wasn't sure I would do it right or like it but be confident in yourself and do it! It made SUCH a difference in our living room and it only took me about an hour to paint. Definitely an easy and budget friendly way to brighten a space up and give that old brick a new updated look!
Next is a new wood shelf on our fireplace ;) more to come on that!


Comments